
Expose Your First Private Service with Wiredoor
Wiredoor is a self-hosted, open-source platform that makes it easy to securely expose private services to the internet without exposing any ports on your local network.
In this step-by-step guide, you’ll learn how to publicly expose a local Grafana dashboard using Wiredoor and WireGuard. No VPN setup or web server configuration skills required.
In this example, we’ll use:
- A public VPS to host the Wiredoor server.
- A local VPS running on Proxmox with Ubuntu and Grafana installed.
What You’ll Achieve
By the end of this guide, you will:
- Expose a private HTTP service (Grafana) securely to the internet
- Connect your private node to a remote Wiredoor server using Wiredoor CLI
- Enable and manage public access to services via dashboard or CLI
- Optionally restrict access by IP for additional security
Requirements
- A VPS with public IP
- Docker and Docker Compose installed on the public server
- A local server with Grafana installed (Ubuntu, Proxmox, Raspberry Pi, etc.)
- Wiredoor CLI or WireGuard client installed on the local server where Grafana is running
1. Deploy the Wiredoor Server
On your public VPS clone the pre-configured Wiredoor docker-setup project and start Wiredoor:
git clone https://github.com/wiredoor/docker-setup wiredoor
cd wiredoor
Copy .env.example to .env and edit this file to securely setup your environment variables.
cp .env.example .env
nano .env
Set your admin email, password, VPN public hostname or IP, and optionally, the TCP_SERVICES_PORT_RANGE. If you modify the TCP port range, make sure to update the ports: section in docker-compose.yml.
Start Wiredoor:
docker compose up -dOnce container started you’ll be able to access by HTTPS to the Wiredoor Dashboard accessing to https://your_wiredoor_server_ip. Then you may use the configured credentials in your .env to login.

2. Create a Client Node in Wiredoor Server
- Login to your Wiredoor Dashboard
- Go to Clients / Nodes.
- Click Add Client.
- Type a name for your node and then click Save.

- A modal will appear with the connection details and token for your node.

- Copy the connection token or the CLI command to use on the local node.
- Make sure your domain is pointing to the public server’s IP.

- (Optional) If you don’t own a domain, you can create an unverified domain under the Domain Names section and map it manually in your
/etc/hostsfile.
3. Install and Connect Wiredoor CLI on Your Local Node
- On your local server (where Grafana is installed):
curl -s https://www.wiredoor.net/install-wiredoor-cli.sh | sh- Use the command or token you copied from the dashboard to connect your node:
wiredoor connect --url=https://X.X.X.X --token=XXXXXXXXXXXXXXXX- Expose the Grafana service publicly:
wiredoor http grafana --domain grafana.domain.com --port 3000
- Check the list of exposed services:
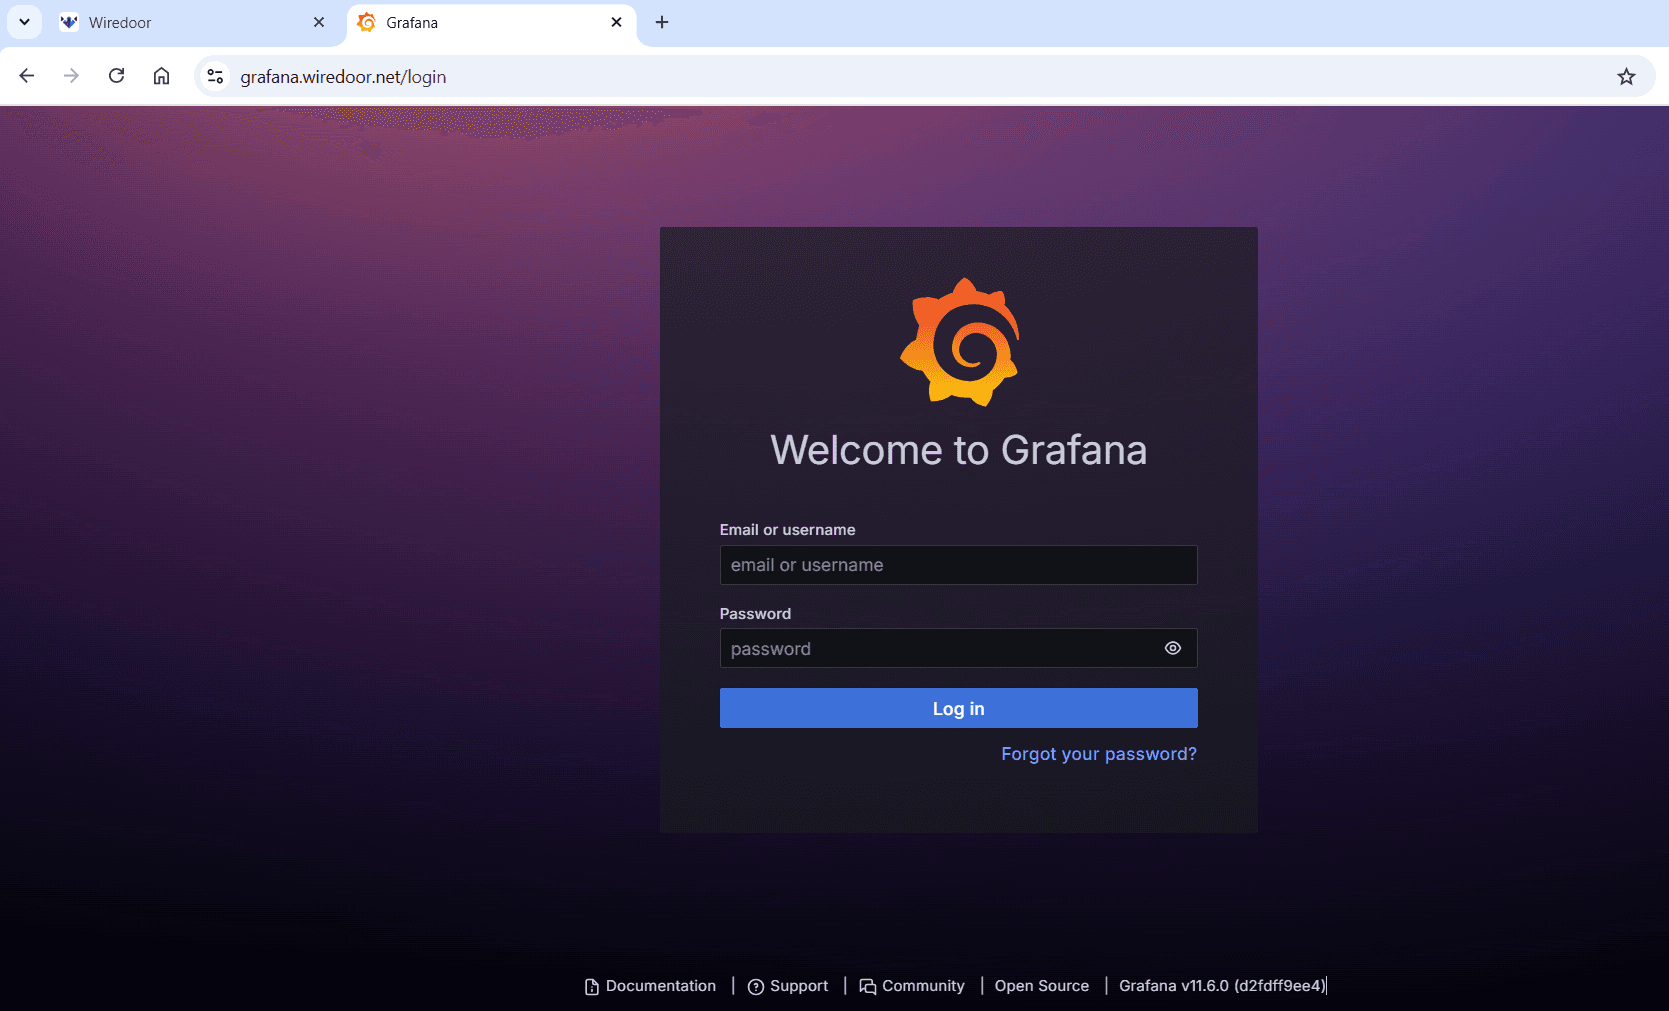
wiredoor status- 🎉 Your Grafana service is now publicly accessible at:
- You can enable or disable the public access anytime using the Wiredoor dashboard, or via CLI using:
wiredoor enable http {serviceID}
wiredoor disable http {serviceID}
Bonus: Use IP-based Access Control
For additional security, restrict access by IP range using the --allow option:
wiredoor http grafana --domain grafana.domain.com --port 3000 --allow 1.2.3.4/32You’re Live!
Your private Grafana dashboard is now publicly accessible without exposing any ports or installing complex reverse proxies.
Wiredoor handles everything for you:
- Peer-to-peer encrypted tunnels over WireGuard
- Automatic HTTPS with valid SSL certs
- Fully manageable via CLI and Web UI
Ready to expose more services? You can add multiple services per node or connect multiple nodes to the same Wiredoor server.
Happy hosting!